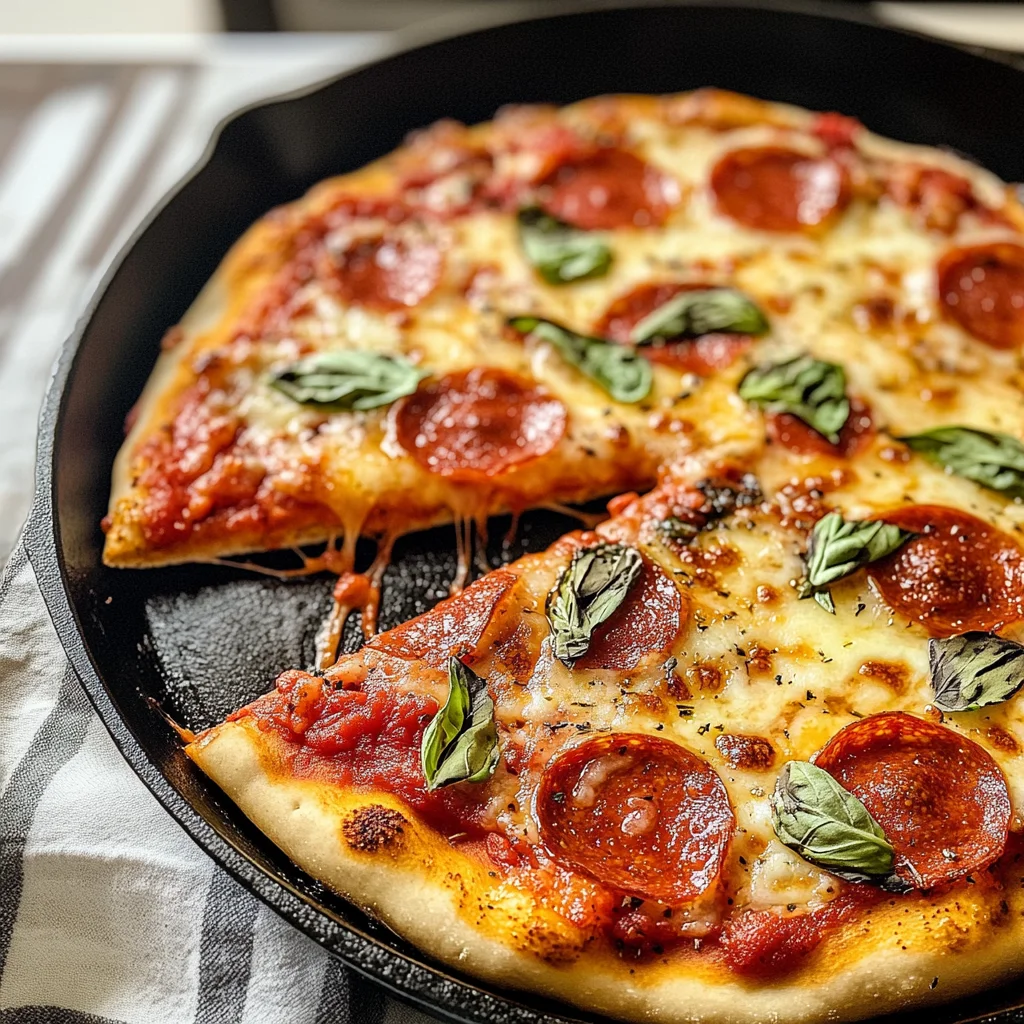
The skillet’s heating up, and I can already smell the pizza sauce mingling with cheese. Cast Iron Skillet Pizza is coming together, and honestly, it’s about to be devoured faster than you can say “extra pepperoni.”
This is for those nights when you’ve got zero dinner plans but a craving for something cheesy and satisfying. You won’t be waiting for dough to rise like with other recipes—this one skips that step entirely (trust me, it’s a game-changer). Just mix, press, and top it off. Dinner is served! Ready to dig in?
Why You’ll Love This Cast Iron Skillet Pizza
- Super Easy Prep: Just mix, knead, and let it rise. Seriously, you won’t need fancy tools for this one.
- Melty-Gooey Goodness: The cheese gets all bubbly and stretchy, creating that ultimate pizza vibe we crave on a Friday night.
- Crisp-Tender Crust: You’ll get that perfect balance between a crunchy outside and soft inside — it’s the best of both worlds.
- Total Versatility: Change up the toppings to whatever you’ve got on hand (but don’t skip the cheese; it’s a must).
- Reheats Decently: It still tastes good after being zapped in the microwave, but the crust gets a bit softer each day.
Cast Iron Skillet Pizza Ingredients
For the Base:
all-purpose flour (2 cups) — Use King Arthur flour for the best crust; others might make it tough.
active dry yeast (1 teaspoon) — Don’t even think about using instant yeast; it won’t rise properly.
salt (1 teaspoon) — Skip the salt and your dough will taste like cardboard.
warm water (3/4 cup) — Get the water to 110°F; too hot’ll kill the yeast.
olive oil (1 tablespoon) — Go for extra virgin olive oil; regular won’t bring the same flavor.
For the Topping:
pizza sauce (1 cup) — Use a good quality pizza sauce like Rao’s; cheap stuff’s too watery.
shredded mozzarella cheese (1 cup) — Don’t skimp on mozzarella; low-moisture is key or it’ll get soggy.
pepperoni slices (1/2 cup) — Opt for Hormel pepperoni; it crisps up perfectly, unlike the bland stuff.
sliced bell peppers (1/4 cup) — Roast bell peppers first for sweetness; raw will taste bitter.
sliced black olives (1/4 cup) — Canned black olives work fine; fresh ones’ll be too crunchy for pizza.
Full measurements in the recipe card below.
How to Make Cast Iron Skillet Pizza
1. Mix the Dry Ingredients: In a mixing bowl, combine 2 cups of all-purpose flour, 1 teaspoon of active dry yeast, and 1 teaspoon of salt. It should look like a fluffy cloud when you’re done.
2. Add Wet Ingredients: Pour in 3/4 cup of warm water (make sure it’s around 110°F) and 1 tablespoon of olive oil. Mix until a dough forms — it’ll be sticky but come together nicely.
3. Knead the Dough: On a floured surface, knead the dough for about 5 minutes until it’s smooth and elastic. You’ll know it’s ready when it springs back after you poke it.
4. Let It Rise: Place the dough in a greased bowl and cover it with a kitchen towel. Let it rise in a warm place for about 30 minutes, or until it’s doubled in size (trust me, patience is key here).
5. Preheat the Skillet: Now, preheat your cast iron skillet over medium heat for about 5 minutes. You want that skillet nice and hot to give your crust a good start.
6. Shape the Pizza: Once the dough has risen, punch it down gently and transfer it to the skillet. Press the dough into the bottom and up the sides; make sure it’s even so you don’t end up with burnt edges!
7. Assemble Your Toppings: Spread 1 cup of pizza sauce evenly over the dough followed by 1 cup of shredded mozzarella cheese, 1/2 cup pepperoni slices, 1/4 cup sliced bell peppers (make sure they’re roasted first), and finally, sprinkle on 1/4 cup sliced black olives. Cover with a lid or foil and cook for about 10 minutes; listen for that sizzle as things heat up!
Watch out — if you rush this part, you might end up with unevenly cooked toppings or an undercooked crust!
Exact quantities in the recipe card below.
How to Store Cast Iron Skillet Pizza
- Room Temperature: If you’ve got leftovers and it’s only a few hours, just cover it with foil. It’ll be okay for about 2 hours, but don’t push it much longer than that.
- Refrigerator: Wrap individual slices in plastic wrap or store them in an airtight container. They’ll last up to 3 days, but the crispy topping softens in the fridge — reheat uncovered to get some of that crunch back.
- Freezer: For longer storage, freeze slices in a single layer on a baking sheet before transferring them to a freezer bag. They’ll keep for about 2 months. Just know that the crust might lose some of its original texture when thawed (I mean, it’s still tasty, just not as crunchy).
- Reheating: Preheat your oven to 375°F and pop the slices on a baking sheet for about 10-12 minutes. You’ll know it’s ready when the cheese is bubbling and starting to brown a bit again.
What to Serve with Cast Iron Skillet Pizza?

It’s rich and cheesy, so something light and fresh on the side keeps it from feeling too heavy.
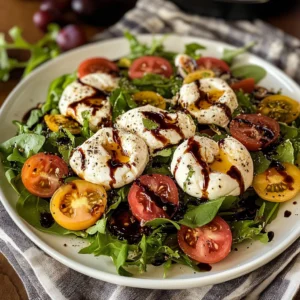
- Mixed Green Salad: Try a simple salad with vinaigrette for a crisp texture contrast that brightens each bite.
- Garlic Breadsticks: The chewy, buttery goodness adds a nice texture difference; just bake them alongside your pizza for about 15 minutes.
- Coleslaw: A tangy coleslaw offers a crunchy, acidic balance that cuts through the richness — plus, it’s super quick to whip up.
- Pickled Vegetables: These add zesty acidity; make some ahead of time or grab a jar from the store for instant flavor.
- Roasted Brussels Sprouts: The caramelization adds sweetness, while the crispy edges give you that delightful texture contrast; roast for 20-25 minutes.
- Chilled Antipasto Platter: Include olives, marinated artichokes, and salami — cold against the warm pizza creates a delicious temperature balance.
- Fruit Salad: A refreshing fruit mix brings brightness; try adding citrus segments to enhance acidity alongside the savory dish.
Cast Iron Skillet Pizza Variations
Here’s how to play with this recipe and make it your own.
- Veggie Delight: Add 1/4 cup chopped mushrooms and 1/4 cup spinach before the cheese for a fresh twist.
- Spicy Kick: Sprinkle 1 teaspoon crushed red pepper flakes on top of the sauce for some heat.
- Extra Cheesy: Mix in 1/2 cup ricotta cheese with the mozzarella for a melty-gooey texture.
- Pepperoni Swap: Replace pepperoni with 1/2 cup sliced Italian sausage, adding it after spreading the sauce.
- Herb Infusion: Toss in 1 tablespoon dried oregano or basil with the flour for a flavorful base.
- Next Level BBQ Pizza: Use BBQ sauce instead of pizza sauce, then add 1/2 cup grilled chicken before toppings for something special.
- Olive Lovers: Double the black olives to 1/2 cup if you can’t get enough briny goodness!
Make Ahead Options for Cast Iron Skillet Pizza
I like to prep the dough for my Cast Iron Skillet Pizza ahead of time. You can mix the dry ingredients and even form the dough a day in advance; just store it in an airtight container or a greased bowl covered with plastic wrap in the fridge. The sauce keeps well for about 3 days, but I’d recommend waiting to add the toppings until you’re ready to bake—otherwise, things can get soggy (nobody wants that). Just remember, while the crust holds up fine, veggies like bell peppers don’t fare as well when prepped too early. Bake fresh for best results! Always go with fresh toppings.
Cast Iron Skillet Pizza Recipe FAQs
Can I make Cast Iron Skillet Pizza ahead of time?
You can prep the dough in advance! Just let it rise, then punch it down and store it in the fridge for up to 24 hours. When you’re ready to bake, bring it back to room temp, shape it, and add your toppings. This way, you’re saving some time without sacrificing that sticky-sweet crust. Just don’t skip letting it warm up before baking; otherwise, it might not rise as well.
Why did my pizza crust turn out tough?
If your crust is tough, you probably used the wrong type of flour or kneaded too much. Stick with all-purpose flour like King Arthur — it’ll give you that tender bite we all want. Also, don’t rush the rising step! You want the dough to double in size; if it’s still small when you press it into the skillet, you’ll end up with a dense base instead of a fluffy one.
What can I use instead of pepperoni for this dish?
You can swap pepperoni for turkey pepperoni if you’re looking for a lighter option or even go meatless with roasted veggies. Just keep in mind that cooking times might vary slightly based on what you choose. (And don’t forget to roast any veggies first — raw bell peppers can be bitter!) If you’re trying something new, just watch how much moisture they add to avoid a soggy pie.
How do I know when my Cast Iron Skillet Pizza is done?
You’ll know it’s ready when the cheese is bubbling and starts turning golden-edged while the crust has that nice crispy sound when you tap on it. Keep an eye on those last few minutes; every skillet’s heat distribution is different. If you’ve covered your skillet initially, remove the lid so that last little bit of baking gives you a nice brown finish.
Final Thoughts on Cast Iron Skillet Pizza
Honestly, the best part of making Cast Iron Skillet Pizza is that crispy, golden-edged crust you get from using a cast iron skillet. It’s a game-changer for pizza night. So if you’ve been putting this off, tonight’s the night to give it a shot! You can customize the toppings however you like, and it’s all done in one pan, which means less cleanup (and who doesn’t love that?). Let me know how yours turned out in the comments!